Garrattfan's Modelrailroading Pages

NS 7000 class
Chassis painting
- Introduction
- History of the 7000 Class
- Inventory of the kit
- Instruction manual
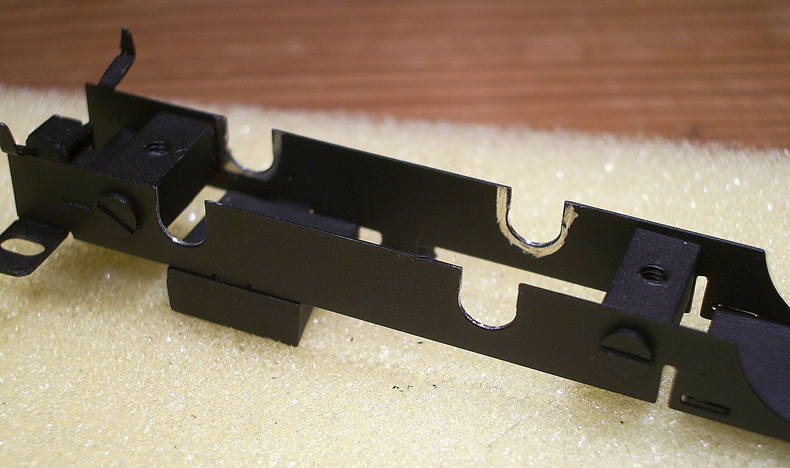
- Chassis
- Chassis painting
- Chassis assembly
- Superstructure
- Superstructure detailing
- Gallery unpainted
- Painting
- Disaster
- Painting continued
- Final Assembly
- Gallery completed loco
- Evaluation and conclusion
- Recommended resources

In het Nederlands
Painting is a subject that is rarely discussed in the building manuals. That is an odd thing especially for the beginner. Admittedly the way you paint your model is a matter of personal preference. But the beginner has no personal preference but seeks for guidance. He or she tends to overlook the fact that (s)he needs to think ahead how to go about painting. Chances are that end up with a perfectly built model that is pain to paint. So I will give some guidelines. First thisMurphy's laws of Airbrushing
That's life,accept it: your first model will go wrong anyway. Plan ahead, accept failure, learn and start over. I painted the NS 7000 chassis at least three times, if not more, before I was happy. Although airbrushing looks easy enough it certainly has a steep learning curve. But boy, once you have mastered it to some degree it gets more and more fun. |
|
Brush or airbrushGood question. Frankly I don't know. I am aware that with very good quality paints like Phoenix Precision Paints thinned in exactly the right consistency and with very good, top notch brushes you can get a fabulous result. Do not choose this option because airbrush equipment is expensive. Brushing to good results is also expensive. Do not be tempted into cheap brushes I'd say. I really think I might have a go at brush painting a model one day and see how it comes out. Airbrushing is certainly not all too easy to learn either. It takes practise, lots of it. But then you get decent results. Get a compressor, air cans won't do. Personally for me airbrushing works and the way to go. |
|
General rulesNow a more serious set of laws of painting that generically apply:
That said it is also a matter of experience how to do all this. |
|
Logical units of paintingIt is good practice to build your model is components which can be screwed together after painting. But what is a logical subdivision. Well any division of work will allow to get everywhere, in every nook and cranny. If you see obstructions, places where an airbrush will have trouble, that is a sure sign you to consider making separate assemblies. Paint spray tends to whirl around objects and as strange it may seem the airflow tends to avoid narrow gaps. So if you have to airbrush behind an obejct e.g. an air pump on a boiler you should be alarmed. Chances are that no paint wants to land behind the pump and if you try to aim for it, you risk flooding the area and you will have to start all over again. It is often far easier to leave the air pump off, paint boiler and air pump seperately and then glue the pump in place after the final coat. |
|
Example: division in to main components |
|
NBDS 118 immediately before painting (except the chassis of the tender (yellow box)). This is a logical breakdown of the locomotive making painting easy. Note the
|
|
That said let's take a look at the NS 7000 in its day. Can you spot the errors? |
|
With NS 7000's prime coat I made several errors which I all came to regret at some stage.
|
|
Example: leaving parts off to get somewhere |
|
I built this Fairlie in O gauge. It seems completely built up but that is deceptive. Many parts can still be disassembled for later painting. |
|
Like the cab side sheets and roof panel in order to get to the intricate detail of the cab. This would be impossible to airbrush with these sheets in place. |
|
Back to the NS 7000 |
|
I have no photos of the actual paint work. Beginners please remember this is a photo of at least the third attempt. |
|
 |
|
 |
|
This is the way I painted the wheels The template masks the wheels in an easy and quick way. It is not entirely one hundred percent protective though and if you want to have perfect results you might better resort to thin strips of masking tape. Note: this photo is staged on my workbench. In reality I did the work in my shed where I had a home made spraybooth (version 1) |
|
Done |


Sign my
GuestBook